UI Design
Design
October 6, 2024
3 Ways for UI Designers to Make Original Illustrations into SVG Animations
A case study of animating original characters using Figma, After Effects, or Lottie Creator tools

Uni
UX/UI Designer
SVG animations have become an essential tool for UI designers looking to add dynamic and engaging elements to their web designs. These animations can breathe life into static illustrations, creating a more interactive and visually appealing user experience.
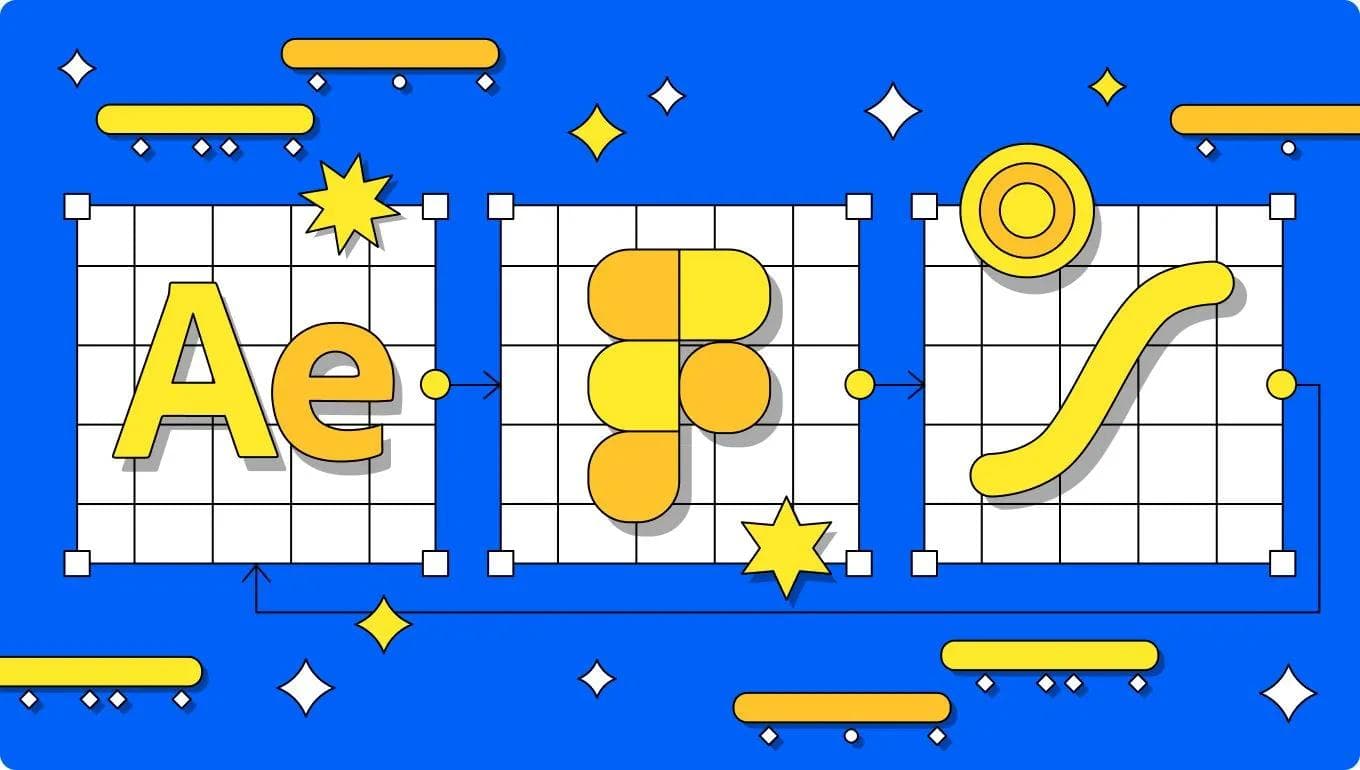
In this article, I'll explore three powerful ways UI designers can create SVG animations using their original illustrations: Adobe After Effects, Figma and Lottie Creator.
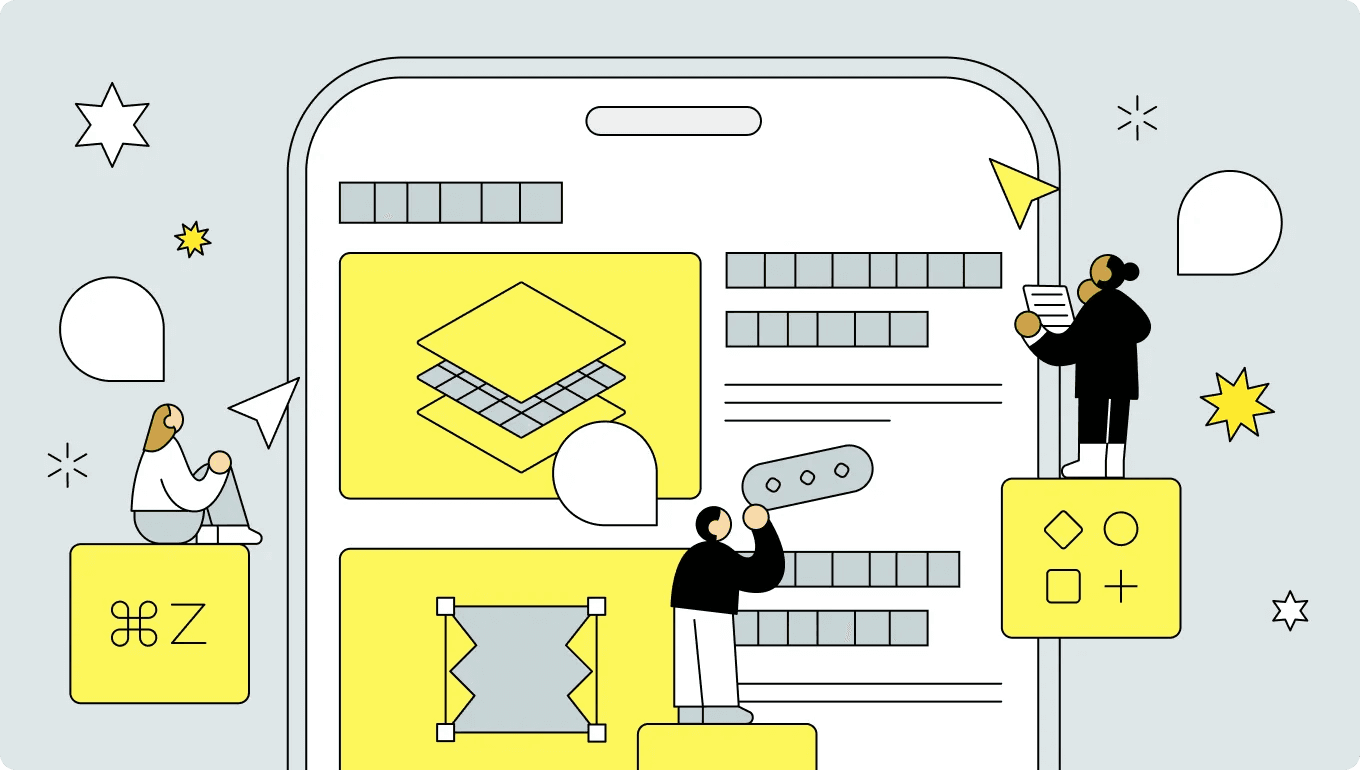
Method 1: Using After Effects
Adobe After Effects is a professional-grade animation software that offers powerful tools for creating complex SVG animations.
I often use After Effects to create more complex and advanced animations, such as the main visuals for websites or campaign banner animations for social media posts.
Key features:
- Advanced timeline and keyframe editing
- Extensive plugin ecosystem
- Integration with other Adobe Creative Suite applications
- High level of control over animation properties
1-1. Create illustrations using Adobe Illustrator
Create a vector format illustration using Adobe Illustrator.

Evolution of Original Character
Organize the layer structure for each part you want to animate and name each layer.

Final draft. Separate layers for each moving part.
1-2. Import your illustration into After Effects.
1-3. Create animation with after effects
All that's left to do is create the animation of your choice. Effects and textures are not converted correctly to SVG animation, so I recommend not using them.
Keep in mind that SVG animation is meant to be displayed on a website, so be careful not to overcomplicate the path or shape.

1-4. Export the animation using the "Bodymovin" plugin and generate a json file.
"Bodymovin" is an extension for exporting JSON from After Effects. Once the JSON is generated, just embed the code on your website and it's done!
You can see how the completed animation works on the website here.
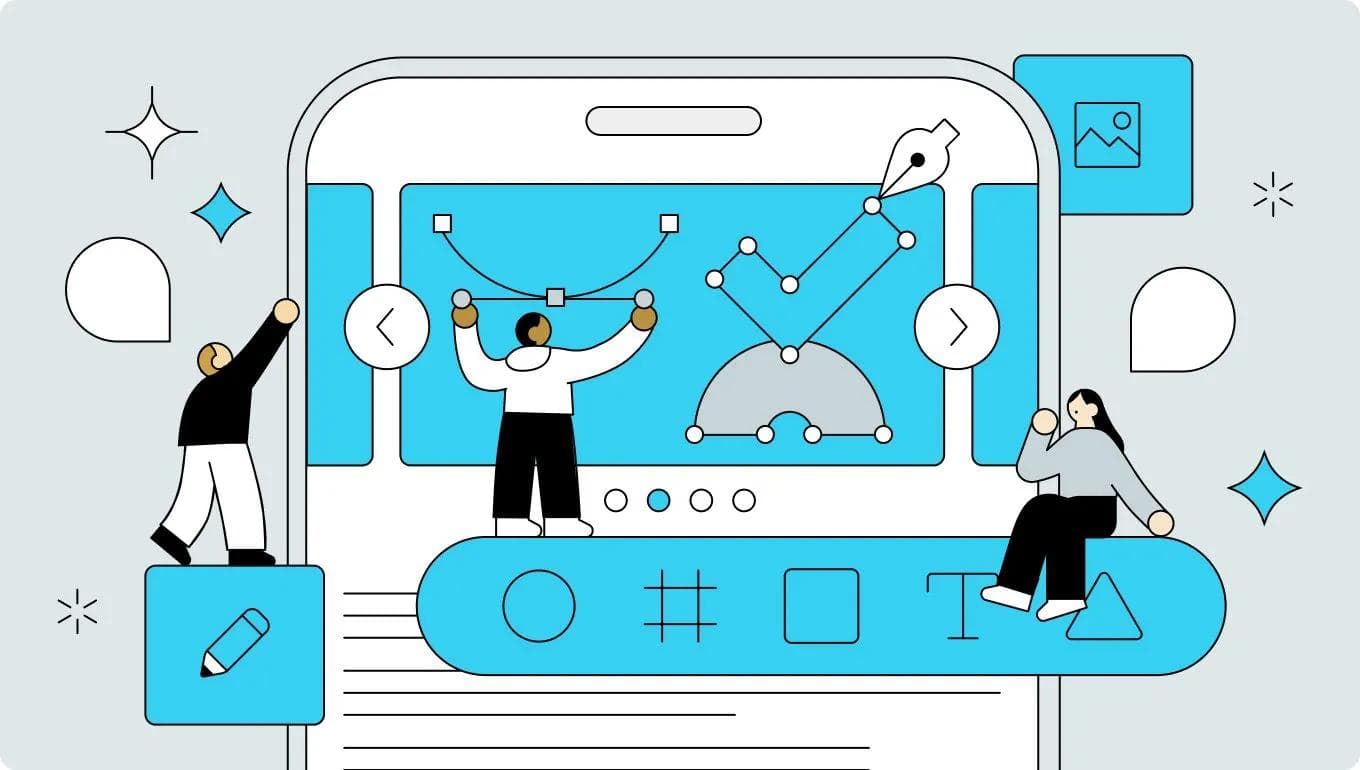
Method 2: Using Figma
Figma, primarily known as a collaborative design tool, also offers capabilities for creating simple SVG animations directly within its interface.
I usually use Figma when creating app onboarding animations or simple icons.
Key features:
- Built-in prototyping tools
- Collaborative workflow
- Integration with design systems
- Export options for developers
2-1. Create or import your illustration into Figma.
Import vector format illustrations created with other software, or create illustrations with Figma's pen tool.
I usually create drafts of complex illustrations in Adobe Illustrator, then I use Figma to touch up illustrations because it makes it easy to change colors and styles all at once and manage and design plans.

2-2. Create an animation using prototype mode.
Create the animation using the basic steps below.
1. Set up transitions: Select the element you want to animate.
In the Prototype panel on the right, select the transition type (e.g., Smart Animate, Dissolve, Slide).
2. Utilize Smart Animate: Use Smart Animate between two frames with the same name layer, and Figma will automatically create an intermediate state.
3. Add interactions: Set up interactions that trigger the animation, such as clicks and hover.
4. Adjust timing and easing: Adjust the animation duration and easing (acceleration) to refine the movement.

2-3. Check the preview
Review your animation in presentation mode.
You can view the animation data on figma here. Press Shift+E to enter prototype mode, then press the play button.
2-4. Export the animation as an SVG, or share the prototype for developer handoff.
LottieFiles for Figma
Using the Figma plug-in "LottieFiles for Figma", you can easily create your own animation by editing the preset animations.
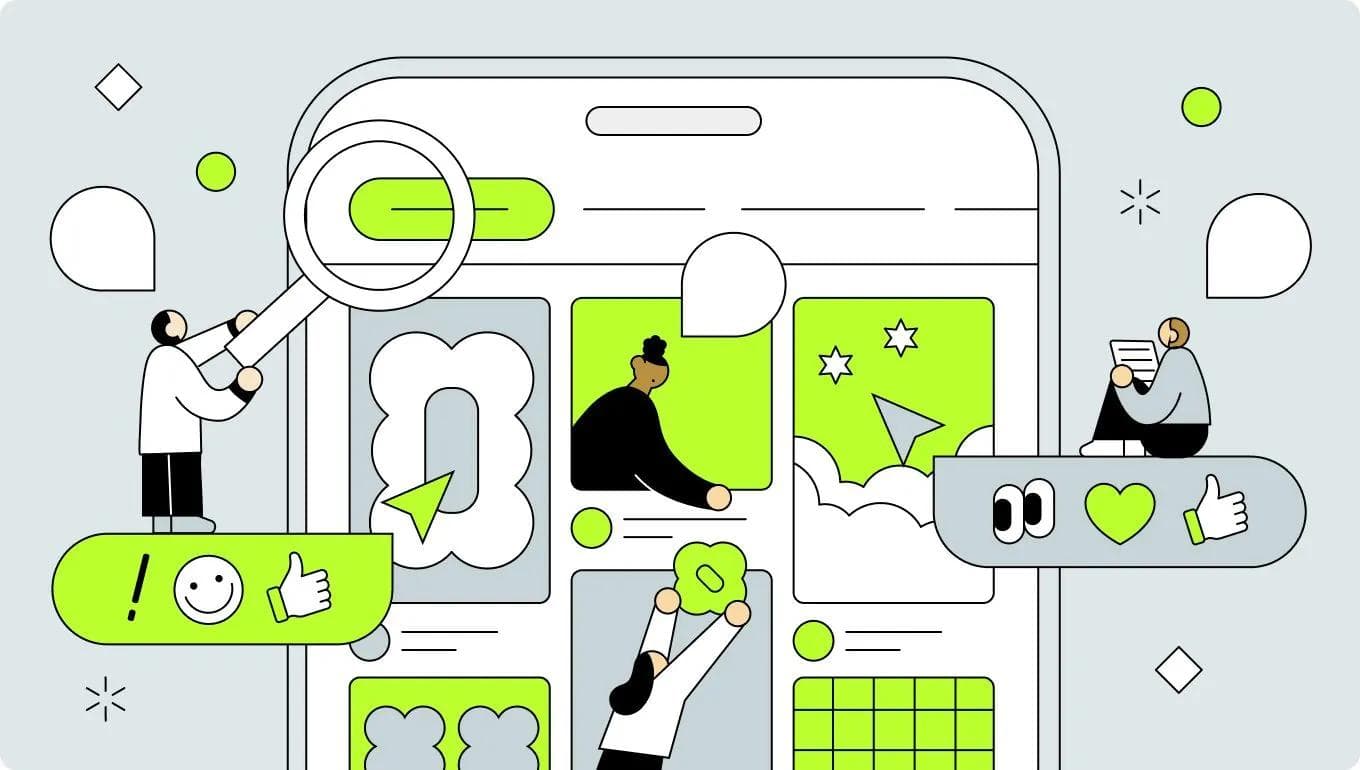
Method 3: Using Lottie Creator
Lottie Creator is a web-based tool that simplifies the process of creating SVG animations, making it accessible even to those with limited animation experience.
Lottie Creator is still a new tool and I personally haven't had a chance to use it much. However, through this case study, I learned that it has many tools that allow you to create animations intuitively, such as animation presets, so I look forward to using it a lot in the future, such as when creating drafts for animations.
Key features:
- Browser-based interface
- No coding required
- Wide range of pre-built animations
- Easy export to various formats, including SVG
3-1. Import your original SVG illustration into Lottie Creator.
Import your SVG illustrations into lottie Creator or create your illustrations with object editing tools or pen tools.
3-2. Create animation
Use the timeline interface to add keyframes and define animation properties. Or apply preset animations or create custom movements.

3-3. Export the finished animation as an SVG file.
Conclusion
Each of these methods offers unique advantages for UI designers looking to
create SVG animations:
- After Effects is perfect for designers who need advanced control and are creating complex animations.
- Figma is great for teams already using it in their workflow and for creating simple, prototype-ready animations.
- Lottie Creator is ideal for those new to animation or looking for a quick, easy solution.
By mastering one or more of these tools, UI designers can elevate their designs with engaging SVG animations, bringing their original illustrations to life and creating more dynamic user interfaces.
Uni
UI Design Checklist 2024 for Improving Product Usability (Part1)
UI design case studies based on heuristic analysis, WCAG, and other theories
Uni
UI Design Checklist 2024 for Improving Product Usability (Part3)
UI design case studies based on heuristic analysis, WCAG, and other theories.
Uni
UI Design Checklist 2024 for Improving Product Usability (Part2)
UI design case studies based on heuristic analysis, WCAG, and other theories